TM 1-1520-238-23
Change 2
2-448.3
2.124A. NOSE GEARBOX SHROUD ADHESIVE SEAL REPLACEMENT – continued
2.124A.4. Cleaning
a. Wipe shroud parts and surfaces with a clean
rag.
2.124A.5. Inspection
a. Check shroud for cracks (para 2.11).
b. Check shroud for corrosion (para 1.49).
2.124A.6. Installation
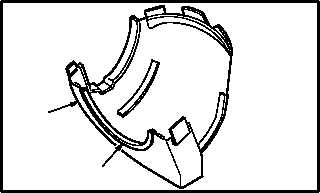
a. Install new seal (1) on shroud (2).
(1) Apply a thin, even coat of primer to sealing
surfaces of shroud (2) and allow to dry. Use
epoxy primer coating kit (item 78, App F).
(2) Apply adhesive to mating surfaces of seal (1)
and shroud (2). Spread sealant to uniform
thickness of 0.015 INCH. Work out bubbles.
Use adhesive (item 14, App F) and brush
(item 34, App F).
(3) Position seal (1) in shroud (2). Apply firm uni-
form pressure. Do not shift sealed surfaces.
(4) Clean excess adhesive around joints and
seams. Use cloth (item 52, App F) moistened
with naphtha (item 127, App F).
(5) Do not move joined components for 1 HOUR
after applying adhesive (or until adhesive is
tack-free to the touch).
b. Inspect (QA).
c. Install nose gearbox fairing (para 2.123).
END OF TASK
1
2
M04-5119-2


