TB 1-1520-238-30-19
10.1.1 If plain encased seal (18) is damaged: Using a hammer and common screw driver lightly tap around
the circumference of seal housing until it releases from the output housing (26), discard plain encased seal
(18). Using paint thinner or acetone ensure excess residual traces of Stabond C-111 compound are removed
from output housing.
10.1.2 If replacing the plain encased seal (18), use a small brush to apply a thin, even amount of Stabond
C-111 compound to plain encased seal (18) and to bore of output housing (26). Install seal into output housing
with a flat side of the seal housing facing inboard towards the output housing. Place output housing (26) onto
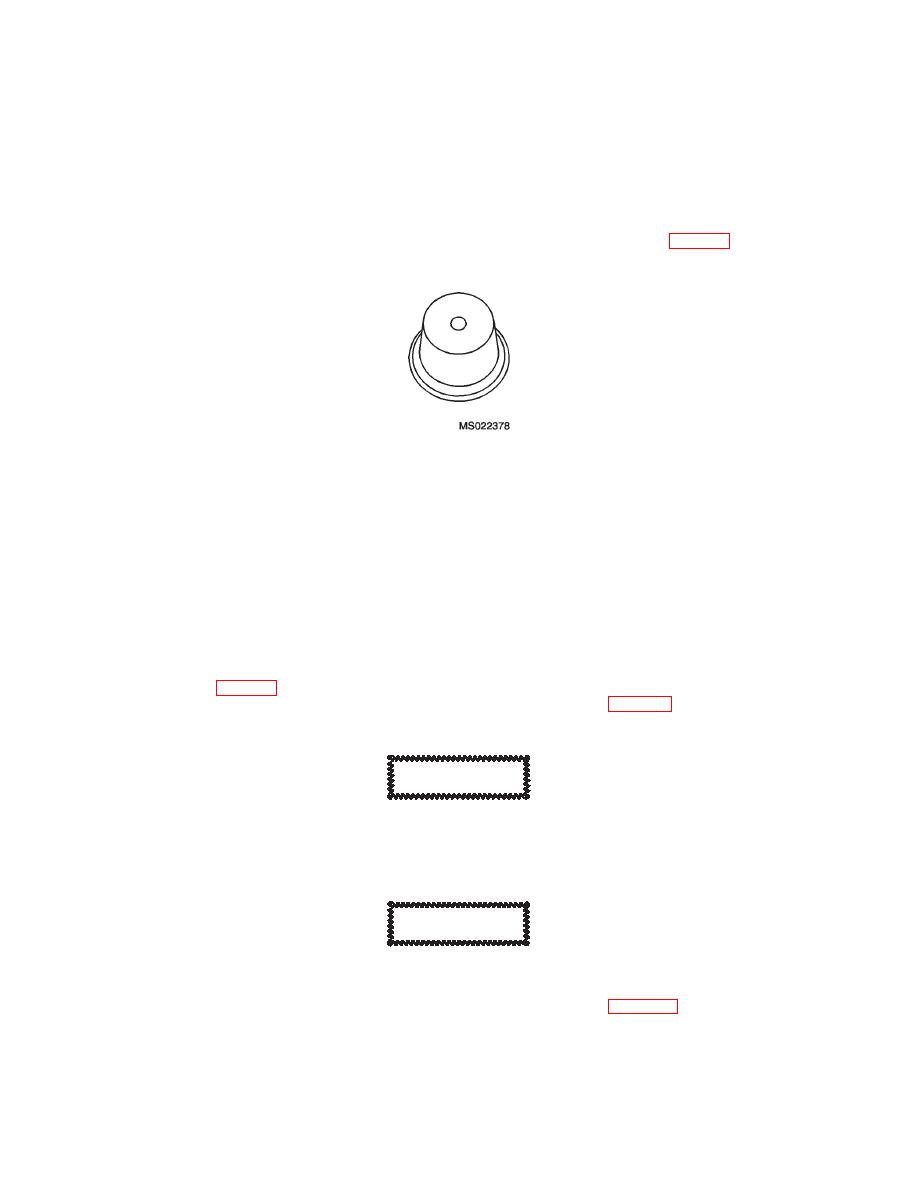
holding fixture (P/N 296844-1). Place large end of seal installation tool (P/N 298169-1, Figure 9) against seal
housing using arbor press and press firmly into output housing (26).
10.2 Gently wipe down plain encased seals (22) using a clean, lint free cloth or cotton swab. Encased seals
take firm set after being formed. If deformed during the cleaning process replace seal. Once deformed from
its original set do not attempt to reform seal.
10.2.1 If plain encased seal (22) is damaged, using a hammer and common screw driver lightly tap around
the circumference of seal housing until it releases from the seal plate (23), discard plain encased seal (22).
Using paint thinner or acetone ensure excess residual traces of Stabond C-111 compound are removed from
seal plate.
10.2.2 If replacing the plain encased seal (22), use a small brush to apply a thin, even amount of Stabond
C-111 compound to new plain encased seal (22) and to bore of seal plate (23). Place seal into seal plate (23)
with a flat side of the housing outboard, away from the seal plate. Place seal plate (23) into bearing plate
(P/N 3210688-1, Figure 7), ensuring seal plate is not resting on its anti-rotation pins. Place bearing plate onto
the holding fixture. Place large end of seal installation tool (P/N 298169-1, Figure 9) against seal housing
and using the arbor press, press seal firmly into the seal plate (23).
CAUTION
Do not oversize seal. If seal becomes oversized, remove seal and re-
place with a new one. Once seal has been properly formed apply a
small amount of Mobilgrease28 to seal surface and install rotating
flange (17) into seal to retain its shape.
CAUTION
Do not deform seal housing during installation. Remove excess com-
pound.
10.2.3 Form seal using plain encased seal (22) forming tool (P/N 298170-1, Figure 10). Press forming tool
into flat side of plain encased seal (22). This is the side opposite of the side with the anti-rotation pins. Push
forming tool through while rotating tool to form seal. Push forming tool through encased seal (22) until forming
tool goes completely through the seal. Do not pull back on the forming tool during seal forming process. The
seal diameter should be approximately the size of the flanges (17) seal riding surface.
16


