TM 1-1520-238-23
5-84
5.15.
MAIN ROTOR BLADE ELECTROSTATIC DISCHARGER DISASSEMBLY/ASSEMBLY – continued
5.15.6. Assembly
NOTE
Perform steps a thru c only if the upper or
lower brackets were removed from the
main rotor blade. Otherwise, proceed di-
rectly to step d.
a. Prime entire bracket bonding area on trailing
edge (7) of blade (8).
(1) Apply a thin, uniform coat of primer to bracket
mating surface and adjacent surface areas
where paint was removed on trailing edge (7)
of blade (8). Use primer (item 144, App F)
and brush (item 34, App F).
(2) If both brackets (4) and (5) are being
installed, repeat step a(1) for the opposite
bracket bonding area on blade (8).
(3) Allow primer to air dry for 1 HOUR.
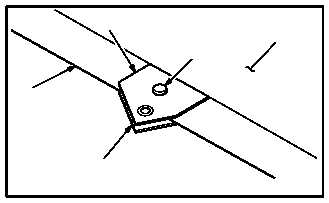
b. Install new brackets (4) and (5) on trailing
edge (7) of blade (8).
(1) Apply a thin, uniform coat of adhesive to mat-
ing surface of brackets (4) and (5) on trailing
edge (7) of blade (8). Use adhesive (item 2,
App F) and brush (item 34, App F).
(2) Position brackets (4) and (5) on mating sur-
face of blade (8).
(3) Slide new rivet (9) through bracket (4), blade
(8), and bracket (5).
GO TO NEXT PAGE
5
7
M04-2308-9
9
4
8


